Translate

Tuesday, December 13, 2011

Trier Christmas Market

Trier is the oldest city in Germany. That's about all I know about Trier, but you don't need to know a lot about it to appreciate the beauty all around.  If you would like to learn more about Trier check out the city's website (I'm still reading through the history).


Porta Nigra

Porta Nigra from the other side

The walkplatz

I found it funny that Mt. Rushmore is what this restaurant used to represent their "American Pizza", hehe, South Dakota joke I guess...


The beautiful restaurant we ate at (underground) Historischer Keller


(yeah that's me...I don't like this picture but I figure since it's my blog I should be in one every now and then)
My daughter on one of the carousels 

Lebkuchen and Getränke


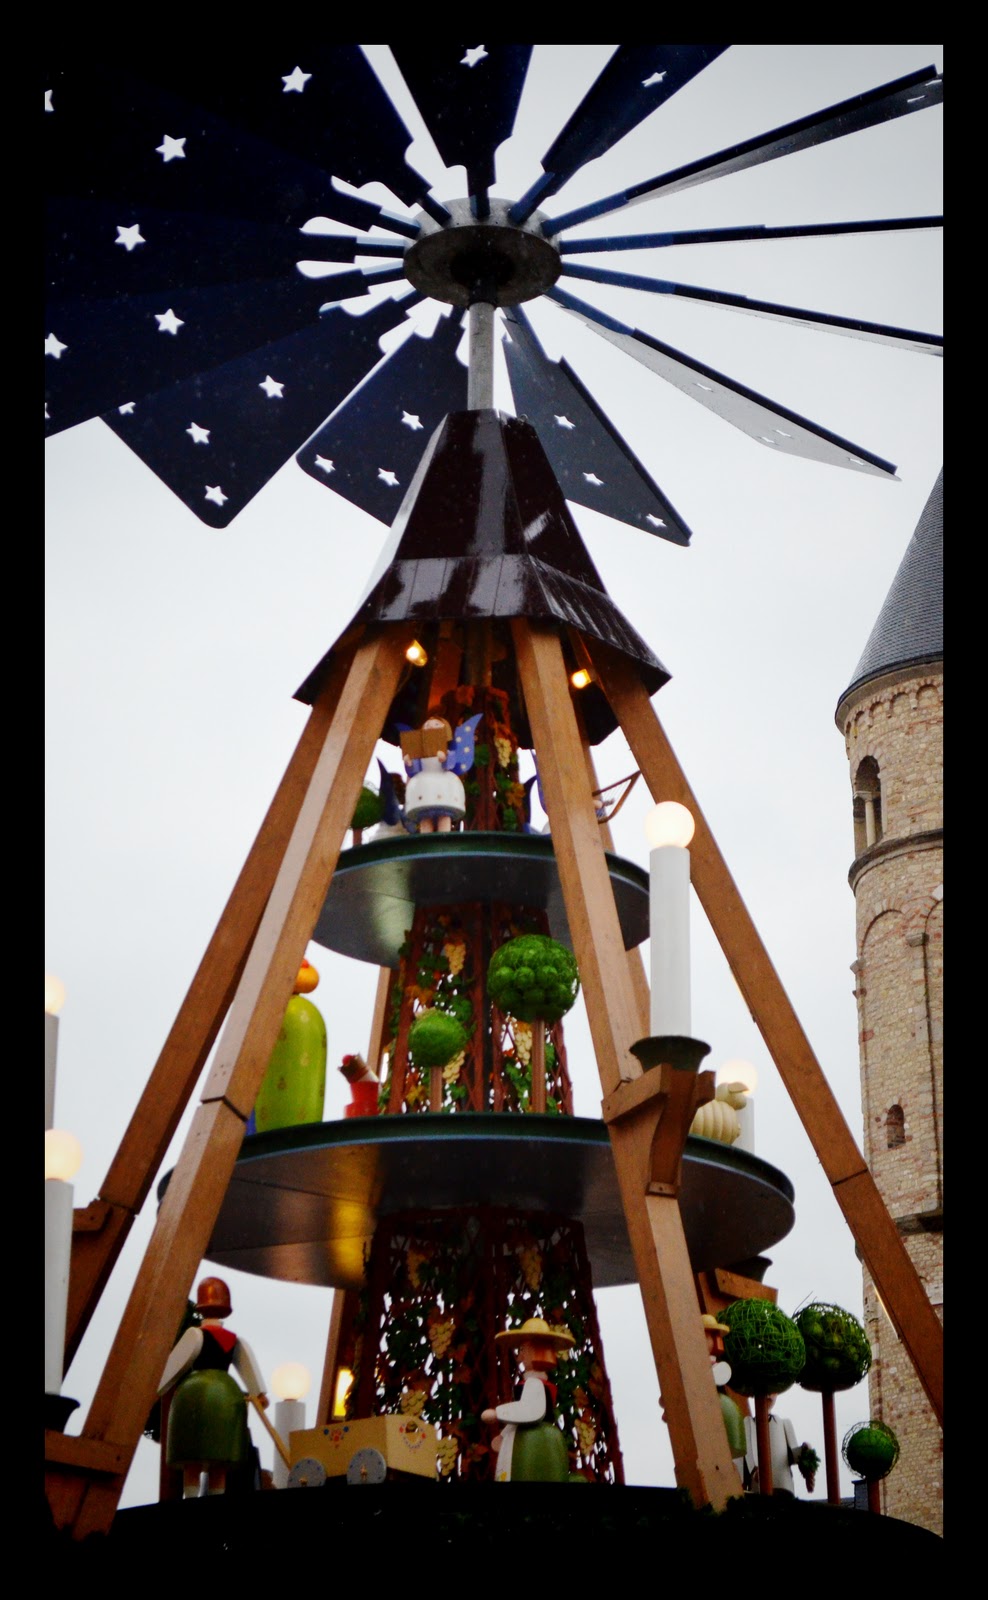
The Christmas Pyramid


You will see the inside of that church further down...


Inside the Cathedral

I saw several signs asking for silence inside the chapel but thank goodness I didn't see any forbidding pictures ;)


Those are someone's prayers...

I have one I'd like to add...Dear God, please heal my Grandma....


Monday, December 12, 2011

A Taste of Home: Cream Cheese Frosting

I decided to make this a separate post because it can be used on other things. It frosts a 14x12x1 jelly roll pan VERY thickly, or will frost about 4-5 dozen cookies


My handy dandy spreader ;) 


A Taste of Home: Banana Bars

This is one of my favorite recipes from my mother. It makes a big pan so it's great to take to events. 


Mushing up the bananas in a seperate bowl

Mixing the butter and sugar

Creaming butter and sugar

Add sour cream and eggs & vanilla to butter/sugar mixture (then add dry ingredients gradually)

Pour into greased jelly roll pan


Bake @ 350 degrees for 20-25 minutes


How we made our Spiderman Pinata

Ok, I promised I would post instruction for the pinata. It's a little late but here it is....


We used this recipe that I found online. We used both the tips about the salt and the cinnamon. I don't think the cinnamon helped with the smell at all so I will probably skip that the next time.
I used the same batch of paper mache for the whole project so if you plan to do the same it's a good idea to mix it in a bowl that has a lid so you can cover it up while the pinata is drying between coats. We cut old newspapers and flyers into strips and put them in a ice cream bucket. Even the somewhat shiny flyers seemed to work just fine. 


So, since we were just doing Spider-man's head our base shape was fairly easy. We just used a large balloon and covered it completely with only the knot where I tied the balloon sticking out. I tied a string to the knot so we could hang it up to dry. To cover the pinata dip each strip of paper into the paste and then pull the strip through your fingers to get off any extra paste. You just want the paper to stick on the balloon, but you don't want liquid running down it, or globbed on. After you have one layer of paper on the balloon hang it up to dry for at least several hours. Some websites will say 24 hours but it will depend on how well you squeezed out the strips and how dry or humid it is in your area. Mine did not take long to dry. I was able to put 3 coats on in one day. We put about 5 coats of paper on since it was so large and was going to be holding a lot of candy. I wanted to make sure it didn't break before the kids started beating it! 


After the pinata is dry you can take a marker and mark your design on it but first you will need to remove the balloon and cut a hole for candy (if you will be filling it.) The best way to remove the balloon is to pull the knot a little to stretch it and then cut a hole in the balloon with a scissors. Let the air out slowly so that if the balloon is stuck to the paper anywhere it will not deflate too fast and ruin your shape. You can either use this hole to fill it or cut a new one. If you will be making a new hole then you will need to cover the hole where the balloon came out. A couple of coats of the same paper mache will work just fine. Then it can either be painted, or covered in tissue paper. I have always preferred the tissue paper method. I think it looks better although it is a lot more time consuming. The painting should be pretty self explanatory so I will just tell you how to do the tissue paper. Cut large sheets of tissue paper into small squares, about 1 inch squared. They don't have to be exactly the same size or perfectly square. If you can't find the right color tissue paper you can use crepe paper streamers and just cut them into squares. Then you will need a pencil, a paper plate and some school glue. (Elmer's glue, or whatever brand you prefer.) 


Squirt a quarter size bit of glue onto the paper plate. You will need more later but if you only add a little at a time there will not be so much wasted if you have to stop for awhile and the glue dries up. Fold the square of tissue paper over the eraser end of a pencil and twist it around the pencil. Do not push too hard of the pencil will tear through the tissue paper. Then remove the paper and hold it by the open end, dip the flat end into a tiny bit of glue and then attach it to the pinata. You may need to hold in in place for a few seconds and then try not to touch it until it dries. If it just falls over you probably used too much glue.  Line the next piece of tissue paper up as close to the first as you can and attach it  using the same method. Continue doing this until the entire pinata is covered in your design. I did the whole pinata except the flap where I filled it up with candy. After filling it I punched a couple holes with a hole puncher, attached some 550 cord (so we'd have some way to hang it), and duct taped it shut. Then I covered the rest with the tissue paper. After the entire thing is dry you can take a scissors and up the paper to make it a little more uniform.  


I didn't need to worry about it breaking too easily! The kids at the birthday party each took turns hitting it and I think we went through all the kids in the line at least 3 times! Finally the parents got to whack at it and we barely dented it! Maybe 5 layers was too many? Ha ha!